Master the Trim: How to Perfectly Cut Aluminum Venetian Blinds to Size
Ever bought a beautiful set of aluminum Venetian blinds, only to find they’re a little too long for your window? Don’t despair! While custom blinds can be expensive, and living with ill-fitting ones is frustrating, there’s a surprisingly straightforward DIY solution. You can easily cut aluminum Venetian blinds to size yourself with the right approach and a few common tools.
This detailed guide will walk you through every step, ensuring a professional-looking finish and helping you save money while achieving that perfect custom fit.
Why Cut Your Own Blinds?
The primary reasons homeowners choose to trim their own aluminum Venetian blinds are:
- Cost Savings: Custom-sized blinds can be significantly more expensive than standard off-the-shelf options.
- Perfect Fit: No more dragging blinds on the sill or bunched-up slats. A perfectly sized blind enhances the look and functionality of your window.
- DIY Satisfaction: There’s a great sense of accomplishment in tailoring your home decor yourself!
Is It Even Possible to Cut Aluminum Blinds?
Absolutely! Unlike wood or faux wood blinds, the thin-gauge aluminum used for Venetian blind slats is quite pliable and can be cut cleanly with standard household tools. The key is knowing how to disassemble and reassemble the blind correctly.
Before You Start: Safety First!
Working with cutting tools and thin metal edges requires caution. Always prioritize safety.
- Wear Safety Glasses: Small pieces of aluminum can fly when cut. Protect your eyes!
- Wear Gloves: The edges of cut aluminum can be surprisingly sharp. Gloves will protect your hands from nicks and cuts.
- Work on a Stable, Protected Surface: A sturdy workbench or table covered with a cutting mat or scrap wood will prevent damage to your surfaces and keep the blind steady.
- Ensure Good Lighting: You’ll need to see your measurements and cuts clearly.
Tools You’ll Need
The good news is, you likely have most of these tools already! You won’t need any specialized, expensive equipment.
- Tape Measure: For accurate measurements.
- Pencil or Fine-Tip Marker: For marking your cut lines.
- Utility Knife or Craft Knife: Essential for scoring the aluminum slats.
- Tin Snips, Metal Shears, or Strong, Sharp Scissors: For cutting the aluminum slats and the bottom rail.
- Cutting Mat or Scrap Piece of Wood: To protect your work surface.
- Fine-Grit Sandpaper or Metal File: For smoothing sharp edges.
- Small Flathead Screwdriver: To help with disassembly and reassembly.
- Pliers (Optional): Can be helpful for gripping or bending.
Step-by-Step Guide to Cutting Aluminum Venetian Blinds
Follow these steps carefully for the best results:
Step 1: Measure Accurately
This is arguably the most crucial step. Measure twice, cut once!
- Determine Your Desired Length:
- Inside Mount: For blinds fitted inside the window frame, measure from the top of the inside frame to the window sill. Subtract 1/2 inch (1.25 cm) to ensure the blind doesn’t drag and operates smoothly.
- Outside Mount: For blinds mounted outside the window frame, measure the exact length you want the blind to be.
- Calculate How Much to Remove: Measure your existing blind’s full length. Subtract your desired length from the current length to find out how much material needs to be removed.
Step 2: Prepare Your Workspace
Clear a large, flat, and well-lit area. Lay down your cutting mat or scrap wood to protect the surface underneath. Have all your tools readily accessible.
Step 3: Disassemble the Blind
This is where many DIYers get intimidated, but it’s simpler than it looks.
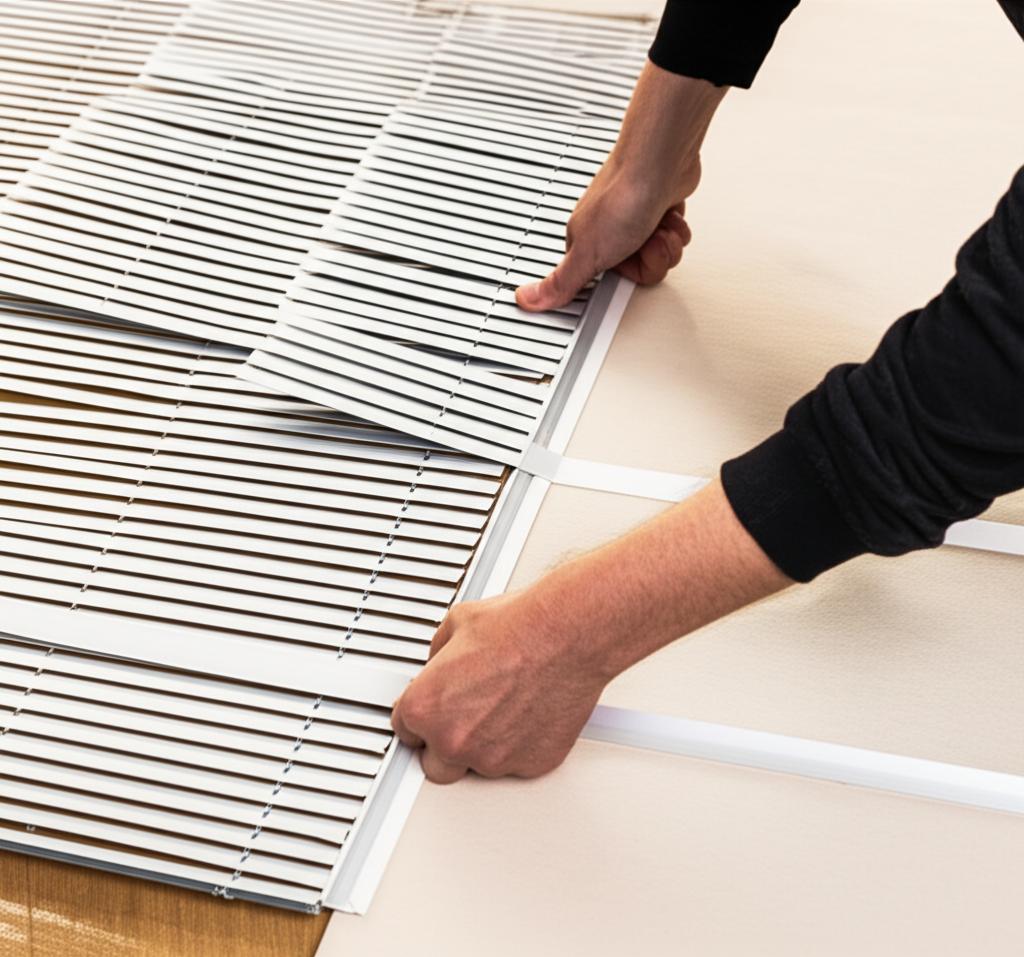
- Lay the Blind Flat: Extend the blind fully and lay it on your prepared workspace.
- Remove the Bottom Rail Caps: At each end of the bottom rail, you’ll find small plastic caps. Use your flathead screwdriver to gently pry these off. They might be a bit snug, but they should pop off without too much force.
- Untie the Lift Strings: You’ll see the lift strings (the ones that raise and lower the blind) threaded through the bottom rail. They are usually tied in knots. Carefully untie these knots. If they’re difficult, you can snip the knots and re-tie them later, leaving plenty of slack.
- Remove the Ladders/Slats: The “ladders” are the strings or tapes that hold the slats evenly spaced. Once the bottom rail caps are off and the lift strings are untied, you can carefully slide the bottom rail off the lift strings and ladders. Then, you can begin sliding the individual aluminum slats off the lift strings and ladder tapes from the bottom. Remove as many slats as needed to achieve your desired length.
Step 4: Mark Your Cut
Now you’ll mark the bottom rail for cutting.
- Re-thread a Reference Slat: Thread one slat back onto the lift strings at the very bottom, just enough to hold it. This gives you a clear point of reference for your new bottom.
- Mark the Bottom Rail: Measure from the very top of the blind (where it attaches to the headrail) down to your desired final length. Use your pencil or marker to mark this precise point on the bottom rail. This will be your cut line. Ensure your mark is straight across the rail.
- Confirm Slat Count: Count how many slats you need to remove to reach your desired length. Double-check this against your initial calculation.
Step 5: The Cutting Process
This involves cutting both the excess slats and the bottom rail.
-
Cutting the Slats:
- Gather the excess slats you removed.
- Stack several slats together (up to 5-10, depending on thickness and your tools).
- Place them on your cutting mat.
- Using a straight edge (like a ruler), score a deep line across all the stacked slats with your utility knife. Aluminum is soft, so this will create a guide.
- Once scored, use your tin snips, metal shears, or strong scissors to cut along the scored line. Work carefully and deliberately. For cleaner cuts, try to make one continuous cut rather than multiple small snips.
- Smooth Edges: After cutting, use your fine-grit sandpaper or metal file to gently smooth any sharp or rough edges on the cut slats. This prevents snags and injuries.
-
Cutting the Bottom Rail:
- Place the bottom rail on your cutting surface.
- Use your tin snips or metal shears to carefully cut along the marked line. For a thicker rail, you might opt for a hacksaw with a fine-tooth blade for a cleaner cut.
- File the Edges: Just like the slats, thoroughly file and smooth all cut edges of the bottom rail. This is crucial for both safety and aesthetics.
Step 6: Reassemble with Care
This is essentially the reverse of Step 3. Patience is key here.
- Re-thread Slats: Starting from the bottom, carefully slide each remaining slat back onto the lift strings and ladder tapes. Ensure they are evenly spaced and facing the correct direction.
- Re-attach Bottom Rail: Once all the necessary slats are threaded, slide the trimmed bottom rail back onto the lift strings and ladder tapes.
- Tie the Lift Strings: Thread the lift strings back through the holes in the bottom rail. Tie a secure knot (or knots) at the end of each string to prevent them from pulling through. Ensure the knots are tight but not so bulky that they prevent the end caps from being replaced. Trim any excess string.
- Replace Bottom Rail Caps: Snap the plastic end caps back onto the ends of the bottom rail.
Step 7: Test Your Work
Hang your newly sized blind back in the window. Raise and lower the blind several times to ensure it operates smoothly. Check that the slats stack evenly and that the blind reaches your desired length without dragging.
Pro Tips for a Perfect Finish
- Work in Small Batches: When cutting slats, instead of trying to cut a huge stack, work with smaller groups (5-10 slats) for cleaner, more accurate cuts.
- Use a Straight Edge: Always use a ruler or straight edge when marking and scoring your cuts on the slats.
- File All Edges: This cannot be stressed enough. Smooth edges look professional and are safer.
- Don’t Rush: Take your time with each step, especially measuring and cutting. A few extra minutes of precision can save you hours of frustration.
- Consider the Stack Height: Remember that when the blind is fully raised, the slats will stack at the top. Ensure your desired length doesn’t create an excessively large stack that might obstruct your window view.
Common Mistakes to Avoid
- Not Measuring Accurately: This is the #1 mistake. Measure, measure, and measure again! Always account for the small gap needed at the bottom.
- Using Dull Tools: Dull scissors or snips will tear and bend the aluminum, resulting in jagged, unprofessional cuts. Ensure your tools are sharp.
- Forgetting Safety Gear: Cuts from thin aluminum can be nasty. Don’t skip the safety glasses and gloves.
- Cutting Too Much Off: You can always cut more, but you can’t put it back on! When in doubt, cut slightly less than you think you need, and then trim more if necessary.
- Not Disassembling Properly: Trying to cut the slats while they’re still fully attached to the blind can damage the ladder tapes or lift strings, making reassembly impossible.
- Rushing the Process: Haste makes waste, especially in DIY projects. Take your time to ensure a clean, precise job.
Conclusion
Cutting aluminum Venetian blinds to size is a rewarding DIY project that can transform the look and functionality of your windows. By following these detailed steps, prioritizing safety, and avoiding common pitfalls, you can achieve a professional, custom fit that looks fantastic and saves you money.
Enjoy your perfectly sized, custom-fitted blinds!
FAQ
Q. What tools do I need to cut aluminium Venetian blinds to size?
A. To effectively cut aluminium Venetian blinds, you’ll require specific tools. For the aluminium slats, sharp tin snips or strong, sturdy scissors designed for cutting sheet metal are ideal. For the thicker headrail and bottom rail, a hacksaw with a fine-tooth blade is essential. Additionally, you’ll need a measuring tape, a marker, a metal file or sandpaper for smoothing edges, and potentially a clamp or vise to secure the blind components while cutting.
Q. Can I cut both the width and the length of aluminium Venetian blinds?
A. Yes, it is possible to cut both the width and the length of aluminium Venetian blinds. Reducing the width involves cutting the headrail, bottom rail, and individual slats to your desired dimension. Shortening the length, or “drop,” is typically simpler and involves removing excess slats from the bottom of the blind and re-tying the lift cords, rather than cutting each slat lengthwise.
Q. How do I accurately measure before cutting the width of my blinds?
A. Begin by measuring the exact width of your window opening at three points: the top, middle, and bottom. Use the narrowest of these measurements. For an inside mount, subtract approximately 1/4 to 1/2 inch (6-12mm) from this measurement to ensure the blind fits without snagging. Mark the new width carefully on both the headrail and bottom rail, often cutting equally from each end to maintain symmetry, unless one end houses the control mechanisms. Each individual slat will also need to be marked and cut.
Q. What’s the best way to cut the aluminium slats cleanly?
A. For a clean cut on the individual aluminium slats, use sharp tin snips or a dedicated blind cutting tool. Mark your cut line clearly with a pencil or marker. Place the slat on a firm, flat surface and make a steady, firm cut. To minimize bending or crimping, you can cut slightly outside your mark initially and then trim precisely. After cutting, gently file any sharp edges to ensure they are smooth and safe.
Q. How should I cut the headrail and bottom rail of the blind?
A. When cutting the headrail and bottom rail, use a hacksaw equipped with a fine-tooth blade. Mark your cut line precisely. To help prevent scratching the finish and ensure a cleaner cut, you can wrap masking tape around the cutting area. Secure the rail firmly in a vise or with clamps to prevent movement during cutting. Saw slowly and with even pressure. Once cut, use a metal file or sandpaper to smooth down any rough or sharp edges on the cut ends for safety and a tidy finish.
Q. What do I do about the lift cords and ladder tapes/cords when shortening the length?
A. When shortening the length of your blinds, you will typically remove excess slats from the bottom. First, carefully untie the knots securing the lift cords and the ladder cords (which hold the slats) at the bottom rail. Slide off the unwanted slats. Once you have reached your desired length, re-thread the cords through the bottom rail’s designated holes and tie secure knots to hold it in place. Ensure the blind hangs evenly before trimming any excess cord. You generally do not cut the cords themselves unless they are being replaced.
Q. Are there any safety precautions I should take when cutting aluminium blinds?
A. Yes, safety is paramount. Always wear appropriate personal protective equipment, including safety glasses to shield your eyes from potential flying debris or sharp metal fragments. Gloves are also recommended to protect your hands from sharp edges that may result from cutting. Work in a well-lit area on a stable, non-slip surface. Keep children and pets away from your work area. Be mindful that freshly cut aluminium edges can be extremely sharp and should be handled with care and filed smooth.